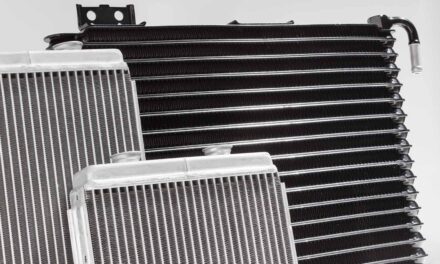
After researching the best replacement radiators, you’re ready to buy one and install it. In many cases, replacing the radiator is rather simple and takes about a half-hour. However, some vehicles are a little more difficult because they have an oil cooler and/or an air conditioning condenser in the way. Be sure you have plenty of time to replace the radiator before you start the project. Before you start, make sure you have all the tools that you need. In most cases, you won’t need any special tools.
Drain the Radiator
Make sure the engine is cool and then remove the radiator cap. Slide a clean drain pan under the petcock or lower radiator hose. Open the petcock and let the coolant drain. If your vehicle’s radiator doesn’t have a petcock, loosen the lower radiator hose and then carefully slide it off the radiator, ensuring the coolant makes it into the drain pan.
Remove the Hoses
Disconnect the reservoir hose, upper and lower radiator hoses. If your hose connections have squeeze-type clamps, you might want to replace them with worm clamps. Work the hoses off the radiator. Check the hoses for dry rot, cracks, and mushiness. Replace the hoses if they are defective.
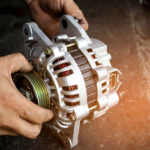
Disconnect and Remove the Cooling Fan
Check for any electrical connectors attached to the radiator. In most cases, the only one you will have is for the cooling fan. Make sure all electrical connectors are disconnected, so you don’t pull the wiring harnesses when you remove the radiator. Disconnect the fan from the radiator and remove it.
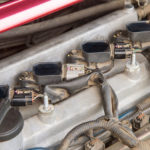
Transmission Cooler Lines
If the transmission cooler lines go into the radiator instead of a separate cooler, disconnect the lines using a flare nut wrench to avoid rounding off the fittings. Be sure to put a separate drain pan under the lines before you disconnect them.
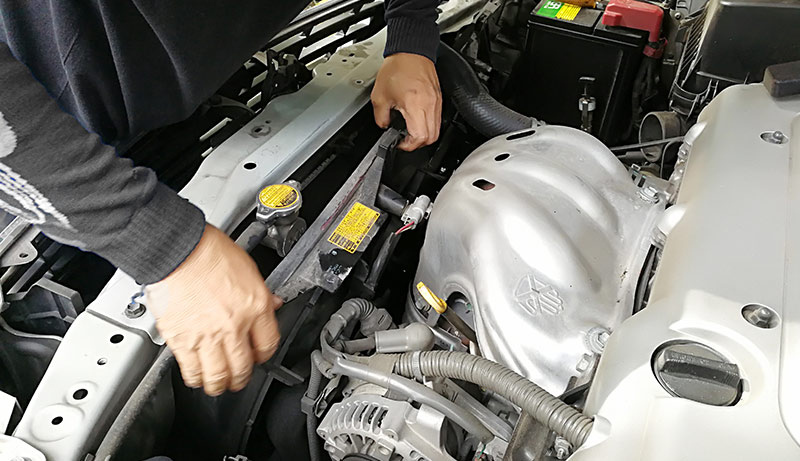
Mounting Bolts
Remove the condenser mounting bolts and the radiator mounting bolts. Once you remove the condenser mounting bolts, you should be able to move the condenser away from the radiator, so it is out of your way. If you disconnect the condenser, you will have to recharge your air conditioning and change out the dryer/accumulator, so avoid removing the condenser lines unless you have no choice.
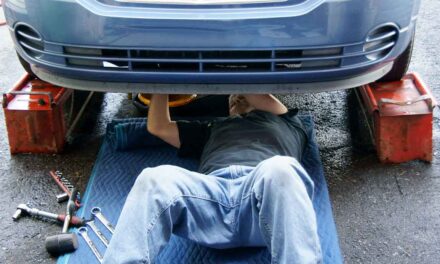
Remove the Radiator
You should now be able to remove the radiator. Slide it out of the vehicle carefully so that you don’t pull on other wires and hoses. As you are lifting the radiator out of the vehicle, keep an eye out for anything you may not have disconnected.
Replacing the Radiator
Slide the new radiator into place and follow the steps in reverse to install the radiator. Fill it with coolant. Leave the radiator cap off and start the vehicle. As soon as the thermostat opens, the coolant will go into the engine, so you’ll probably need to add more. Keep an eye on the temperature of the engine. If the coolant doesn’t circulate properly, the vehicle will overheat.
Visit Auto Parts U
Visit our site at Auto Parts U to learn more about choosing the best radiator.